Best Apps for Passport Photos
Overview
Passport photo apps can save time and money, but only if you use them to meet the exact photo requirements of the issuing authority. This guide explains how to choose and use these apps to prepare compliant passport and ID photos, how to validate the result, and how to avoid common mistakes.
How these apps help with compliance
The apps in the recommended list were selected for Android and iOS and are noted for intuitive interfaces, handy settings and templates for many documents and countries. Use the app’s country and document templates as your primary tool for achieving the correct dimensions and formatting.
Notable app examples
The Top 14 Apps to Take Passport Photo list includes names you can search for on your device: Passport ID Photo Maker Studio, ID Passport VISA Photo Maker, Passport Photo - ID Photo, Passport & ID Photo Maker, and Passport Photo Booth Creator, among others. Choose an app that explicitly lists templates for the destination document you need.
Pricing and trial notes
Most entries offer a Free + in‑app purchases model and some provide a Free trial. Verify whether the app you choose requires payment to export the needed file format or to unlock certain templates before you start preparing your photo.
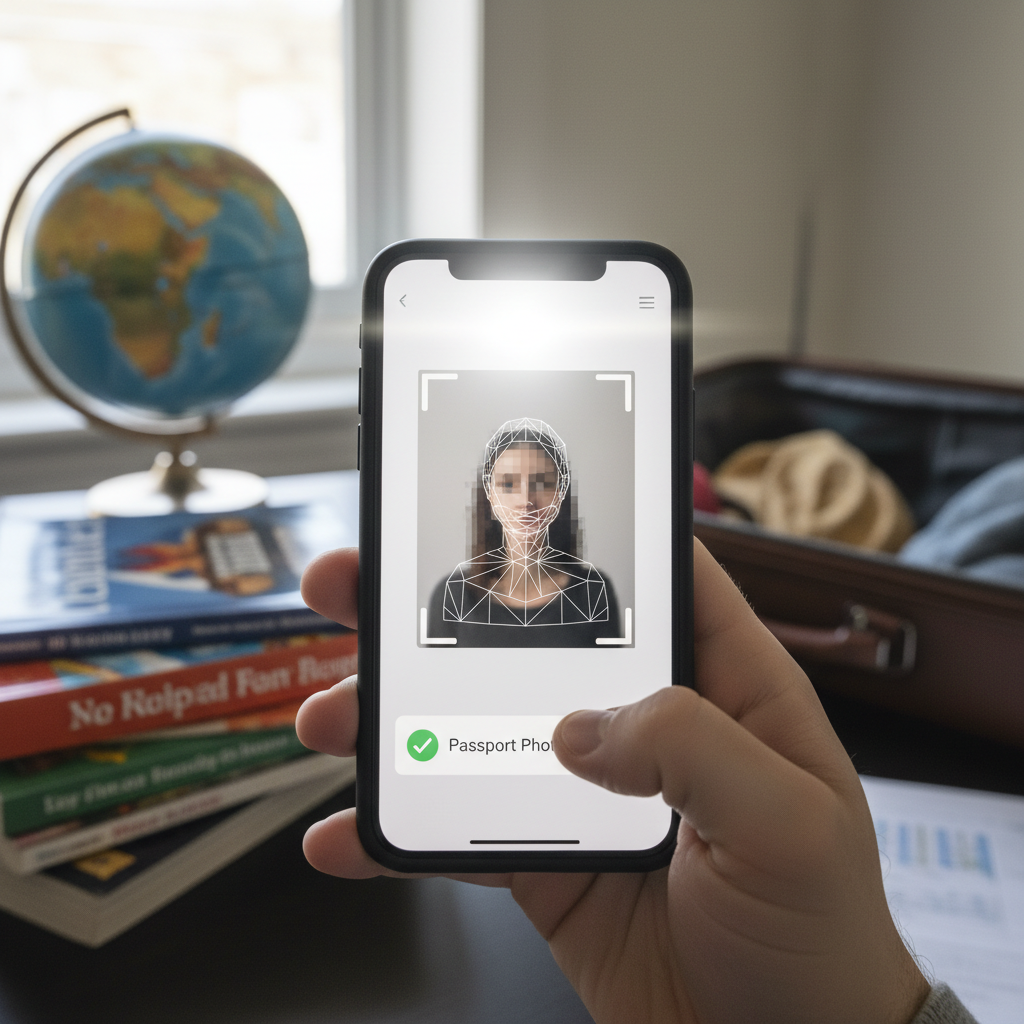
Key features to check in an app
When choosing an app, check for these features: a library of country/document templates, a size-change tool to match dimensions, supported export formats (e.g., JPEG and PNG), and overlay tools (e.g., ability to add names and dates). Passport ID Photo Maker Studio is highlighted with a 5/5 rating and lists these specific pros: adds names and dates, changes the size of an image, and supports JPEG and PNG.
Primary compliance workflow (short)
1) Select the correct country and document template inside the app.
2) Capture or import the photo.
3) Use the size-change tool to fit the template.
4) Export as the required file format.
5) Add names/dates only if the issuing rules permit.
Step-by-step preparation (detailed)
1. Open the app and locate the template library.
2. Choose the country and the specific document type to apply the template.
3. Capture a new photo or import an existing portrait into the app.
4. Apply the template so the app enforces the correct framing and head size.
5. Use the app’s size-change tool to adjust the image to the template’s final dimensions.
6. Export the file in the format required by the issuing authority (use JPEG/PNG if supported).
7. If the issuing rules explicitly allow text overlays, use the app’s add‑names/dates feature and position the text per the template.
Export file formats and why they matter
Export file formats matter: when a document authority specifies a file type, export in that supported format to avoid rejection at upload or submission. Confirm the app supports the format you need (e.g., JPEG and PNG are supported by Passport ID Photo Maker Studio).
Overlays: names and dates
Some apps can add names and dates onto prints. Only apply those overlays if the document rules explicitly allow or require them, and use the app’s template positioning tools to place the overlays correctly.
Validation and final checks
Always confirm the app’s template matches the issuing authority’s published requirements. Verify the exported file format and confirm the resized image dimensions before printing or uploading. Doing these checks reduces the chance of delays or photo rejection.
Printing preparation
When preparing photos for print, rely on the app’s size-change and export settings so the printed result matches the required dimensions. Preview or test-print a single copy to check proportions and quality before printing multiple copies.
Using a free trial
If an app offers a Free trial, use it to produce a full-size sample and test it with the receiving authority or a print lab to confirm compliance before purchasing premium features or making multiple prints.
Device compatibility
Device compatibility matters. Choose an app that explicitly lists compatibility with your device (for example, Passport ID Photo Maker Studio lists iOS and Android) so you can access the needed templates and tools on your phone or tablet.
Common mistakes to avoid
- Selecting the wrong country or document template.
- Exporting in the wrong file format.
- Adding text overlays when not allowed.
- Assuming all templates are identical—always cross-check with the issuing authority’s published rules.
Practical tips and actionable steps
- Before you start: review the issuing authority’s photo specifications and then pick an app that lists a matching template.
- Test once: use a free trial or create one export to test with the authority or a print lab.
- Confirm formats: check whether exporting the required JPEG/PNG file requires payment.
- Single test print: do a single test print to verify dimensions and look before printing multiples.
Final checklist before submission
- Confirm the selected app template matches country and document type.
- Confirm image dimensions via the app’s size tool.
- Export in the required file format (JPEG/PNG if supported).
- Add names/dates only when explicitly authorized.
- Test-print or validate an exported sample with the receiving authority or a lab.
Conclusion
Passport photo apps can produce compliant photos if you use their country/document templates, size tools, and supported export formats correctly. Follow the step-by-step preparation, perform the validation checks, avoid the common mistakes listed, and use free trials and test prints to ensure acceptance.