How to Fix a Photo Rejected by the Embassy
Understand why photos are rejected
Embassies and visa portals use strict digital passport photo rules for file tech, composition and biometric matching, and a single mismatch in size, format, DPI, head position or background can trigger an automatic rejection .
First check the file tech basics
Make sure the file format is acceptable (JPEG/JPG or HEIC where explicitly allowed), the color space is sRGB, and the image resolution is in the expected DPI range (typically 300–600 DPI) before you try to re-upload .
Verify pixel dimensions and file size
Compare your image pixels to the program’s requirements — for ESTA and eTA the square options are 600×600 px (recommended up to 1200×1200 px for sharper quality), while Schengen generally requires about 827×1063 px at 600 DPI — and ensure the file size falls inside the portal limits .
Convert millimeters to pixels if needed
Use the provided conversion formula pixels = (millimeters ÷ 25.4) × DPI to recalculate the correct pixel dimensions if the embassy specifies size in mm (example: 35×45 mm at 600 DPI ≈ 827×1063 px) .
Fix wrong DPI or pixel dimensions
If the DPI is wrong, resample the image to the correct DPI and then resize to the required pixel dimensions (avoid stretching — crop equally or resample while preserving aspect ratio) so the face proportions remain biometric-compliant .
Correct aspect ratio and cropping issues
For square requirements (ESTA, eTA) crop to a perfect 1:1 ratio without stretching; for Schengen crop to the 7:9 (35×45 mm) proportion — center the head vertically so it occupies the required percentage of image height .
Check head size and position against the rules
Measure the head’s size in the frame: ESTA requires roughly 50–69% of image height, eTA about 70%, Schengen about 70–80% — if your head is too small or too large, re-crop or retake the photo ensuring the head fills the required portion .
Adjust lighting and remove shadows
If the rejection cites poor lighting or shadows, retake the photo with even, diffuse lighting and no strong side lighting so there are no facial or background shadows that could confuse biometric detection .
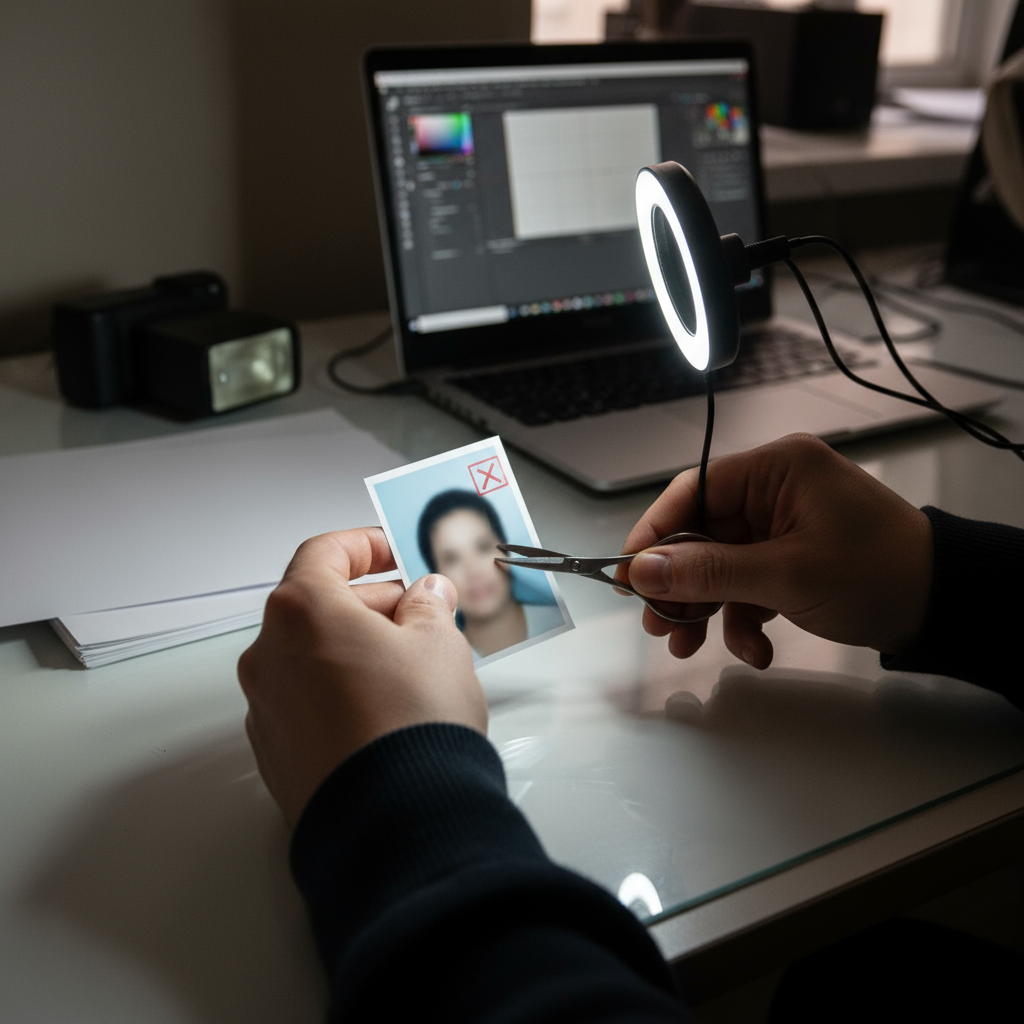
Remove filters and retouching
Any filters, beautification or smoothing effects can cause a rejection; revert to the original unedited JPEG (or recapture without filters) and avoid editing apps that alter color tone or metadata .
Replace printed scans or outdated photos
Scanned prints are not acceptable — use an original digital capture taken within the last six months for most visa systems and upload the native digital file rather than a scanned image .
Fix background issues
Use a uniform white, off-white or light-gray background as required by the program, remove patterns and ensure consistent lighting so the background is free of shadows and contrasts that could lead to rejection .
Ensure eyes and expression meet biometric rules
If the rejection notes incorrect expression or eye visibility, retake with a neutral expression (mouth closed, eyes open, looking straight at the camera) and remove sunglasses and reflective glasses or adjust lighting to eliminate reflections .
Check file compression and image quality
Avoid over-compressing the JPEG which causes pixelation; keep sufficient quality especially around eyes and face edges — balance file size against quality to stay within portal limits without losing critical detail .
Follow program-specific file limits and formats
Match the embassy’s format and size limits exactly: ESTA accepts JPEG/HEIC and 600–1200 px square files within 54 KB–10 MB, eTA requires JPEG up to 4 MB, and Schengen expects JPEG around 827×1063 px (20–300 KB) at 600 DPI .
Use safe recommended dimensions if unsure
When uncertain choose the safe options: 600×600 px (300 DPI) for square uploads, 1200×1200 px (600 DPI) for high-resolution square needs, and 827×1063 px (600 DPI) for Schengen, then crop and center the head per the biometric ratios .
Practical retake checklist before re-uploading
Before uploading again: verify file format (JPEG/HEIC where allowed), color space sRGB, DPI 300–600, correct pixel dimensions, required file size, neutral expression, centered head at correct percentage, uniform background, and no filters or scans .
Quick remedial steps for common rejection reasons
If rejected for wrong size or ratio — recrop or resample to the specified pixels; for shadows — retake with diffuse lighting; for filters — use original unedited file; for head position — crop or retake ensuring centered alignment and correct head height percentage .
When to re-capture vs. edit
If the problem is composition, lighting, expression or background, recapture the image rather than editing; only use resizing/resampling and light cropping for pixel or DPI fixes, never use beautification or heavy retouching .
Final verification tips before submission
Zoom in on the image to check for pixelation, ensure facial details are clear, confirm sRGB color, validate the pixel dimensions with the embassy’s specs and make sure the file size and format fall within portal limits — then upload .
Consult embassy instructions and portal pages
If you remain unsure which exact spec applies (some consulates still request printed photos along with digital copies), check the embassy or visa portal page for the program-specific technical and compositional rules before making another attempt
Keep copies and document changes
Save both the original and the corrected image files so you can demonstrate changes if needed and avoid repeating the same error in future submissions
Summary: the fastest path to acceptance
Fix rejections by matching file tech (format, sRGB, DPI), pixel dimensions, file size limits, composition (head size and center), neutral expression, uniform background, and by avoiding filters or scanned prints to meet embassy biometric checks on the first try