Most Common Passport Photo Mistakes
Why photos get applications put on hold
If you received a letter from the National Passport Information Center (NPIC) saying your passport application is on hold because of an invalid photo, you’re not alone. Many applications are delayed for this reason. You have 90 days to submit a corrected photo before the application is cancelled — so identifying and fixing the mistake quickly is essential.
The single biggest issue: poor quality
The most common reason for rejection is poor photo quality that prevents biometric facial recognition. If the image is blurry, under- or over-exposed, or altered, passport agents may not be able to match it to you and will reject it.
Incorrect size and head dimensions
US passport photos must be 2 × 2 inches (square ratio). The head in the photo should measure 1–1⅜ inches from the top of the head to the bottom of the chin. Leave white spaces between the face and the image borders (both sides and at the top).
Actionable steps: stand at least 20 inches (50 cm) from the camera when taking the picture; when editing, don’t zoom in too much and preserve the required white margins.
Incorrect background
Background must be plain white or off-white with no imperfections. Avoid hanging white sheets — fabric tends to produce shadows and patterns that are unacceptable. If you remove the backdrop digitally, ensure the result has no blur around the hair and head outline.
Actionable steps: take the photo in front of a plain white/off-white wall or use reliable background-removal software that does not blur edges.
Poor lighting and shadows
Lighting must be even and neutral so natural skin tones are accurately represented. Shadows (on the face or background) are unacceptable, and overexposure or underexposure can lead to rejection. Avoid taking photos very early or late in the day when lighting is uneven.
Actionable steps: take photos between 9 am and 1 pm in front of a window for natural light, or set up three light sources — one in front and two at ~45-degree angles on each side — to eliminate shadows.
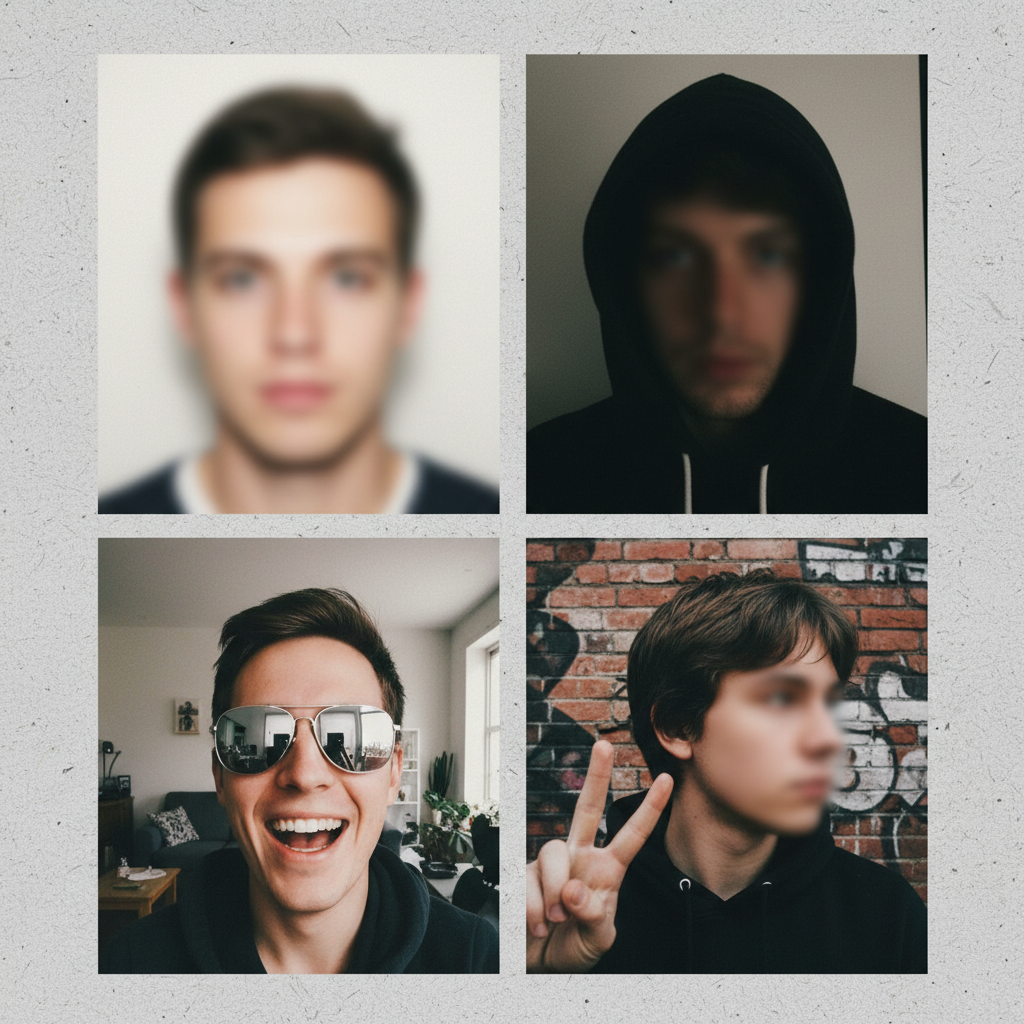
Improper facial expression
Passport photos should show a neutral facial expression with eyes open and mouth closed. A natural, subtle smile is allowed, but exaggerated expressions are not.
Actionable steps: if unsure, keep a neutral expression; if smiling, do so gently by only lifting the corners of the mouth.
Bad positioning
You must sit or stand straight and look directly at the camera with no head tilt. The face should be centered and occupy about 50–69% of the image height. The top of your shoulders must be visible in the frame.
Actionable steps: center your face in the frame, ensure shoulders are visible, and confirm the head occupies the correct percentage of image height before finalizing.
Digital alterations are not allowed
Any digital edits that change exposure, remove red-eye, enhance features, or remove blemishes and birthmarks will result in rejection. Even minimal retouching can be problematic unless performed by a professional and still within guidelines.
Actionable steps: do not alter the photo; instead use minimal makeup to feel comfortable and submit the unedited photo that meets other requirements.
Unacceptable appearance choices
Clothing should be your usual attire in darker colors and without patterns; avoid white clothing, camouflage patterns, or uniforms. Hair must not cover your face, eyes, or eyebrows — bangs that obscure the eyes will cause rejection. Makeup should be light and natural.
Actionable steps: wear darker, plain clothes; style hair so the entire face is visible; use natural-looking makeup only.
Head coverings and glasses
Head coverings are generally not allowed, except for religious reasons — but if worn for religion, your entire face must be visible. Glasses should be removed unless you can provide a signed doctor’s statement allowing them in the photo.
Actionable steps: remove glasses for the picture unless you have the required medical documentation; if wearing religious headgear, make sure it does not obscure any part of the face.
Infant and child photo pitfalls
Children and babies have special pitfalls: the child must look directly at the camera with eyes open and mouth closed (newborns may have slightly closed eyes). The child must be the only subject — no toys, pacifiers, blankets, or hands visible, and you are not allowed to hold the baby in the photo.
Actionable steps for infants: photograph the baby when well-rested; place the baby on a light-colored blanket on the floor; an alternative is placing the baby in a car seat covered with a plain white/off-white sheet (baby does not have to be awake but face must be unobstructed).
What to do if your photo is rejected
You must submit a new compliant photo within 90 days. If you do this, you do not have to reapply or repay fees — but failure to submit a corrected photo in that window will cancel your application and require starting over.
Actionable steps: retake the photo following guidelines, verify compliance before submission, and upload or deliver the corrected photo within 90 days.
How to validate a photo before submitting
Use a professional passport photo service or an AI-powered passport photo tool to check compliance in advance. These services can resize, crop, remove backgrounds properly, and offer expert verification so you avoid rejections.
Actionable steps: take the picture, upload it to a verification service, get an expert or automated compliance check, then download the compliant digital photo or order prints.
Quick compliance checklist (actionable)
- Photo size: 2 × 2 inches.
- Head size: 1–1⅜ inches top-to-chin.
- Background: plain white or off-white, no shadows/patterns.
- Lighting: even, neutral; no shadows.
- Expression: neutral or subtle natural smile; eyes open, mouth closed.
- Position: centered, no tilt, shoulders visible; face 50–69% of image height.
- No digital alterations.
- Clothing: darker, plain; no uniforms or white.
- Glasses: removed unless medical statement provided.
- Infants: no hands or other people visible; no objects; face unobstructed.
Final tips to avoid delays
Prepare your photo area ahead of time: choose a plain white wall, set the camera about 20 inches away, use good natural light between 9 am and 1 pm or set three lights, check framing for head size and shoulder visibility, and verify the final image with a compliance service before submission. If an application is held, act quickly — you have up to 90 days to correct it.
Wrap-up
Passport photo rejections are common but avoidable if you follow the US State Department’s requirements closely. Retake and submit a compliant photo within 90 days to keep your application active. If in doubt, use a professional or AI verification service to confirm compliance before you submit.