How to Prepare Multiple Photos on One Sheet
Overview
This guide explains a practical method for preparing multiple U.S. passport-style photos on a single 4×6 sheet using Photoshop, based only on the process and materials described in the source. It focuses on validation, preparation, and compliance steps you can follow to match the official example/template provided in the U.S. Passport photo guidelines.
Use the official example/template
Start with the U.S. Passport photo guidelines and their provided photo template. The template is your reference for correct size and alignment — use it to verify that your photo matches the official example.
Make a 600×600 pixel square template
Create a 600×600 pixel square in Photoshop and place the example/template photo into that square. This 600×600 square becomes the work area you will use to size and align your portrait to the passport template.
Paste your photo on top of the example
Paste your portrait on a layer above the example/template layer. This lets you directly compare and fit your photo to the official layout.
Use opacity to match alignment
Lower the opacity of your photo layer to about 50% so the guide/template shows through. This makes it much easier to see how your face and features align against the official example.
Use Free Transform to size and position
With the photo layer semi-transparent, use Free Transform to resize and move your photo until it matches the example/template exactly in size and alignment. When satisfied, restore the photo layer opacity back to 100%.
Check background and gaze
Verify that your final image meets visible compliance cues from the example: for instance, the source points out that an MS Clipart portrait was not acceptable because it did not have a plain white background and was not looking at the camera. Make sure your background and gaze reflect the example/template.
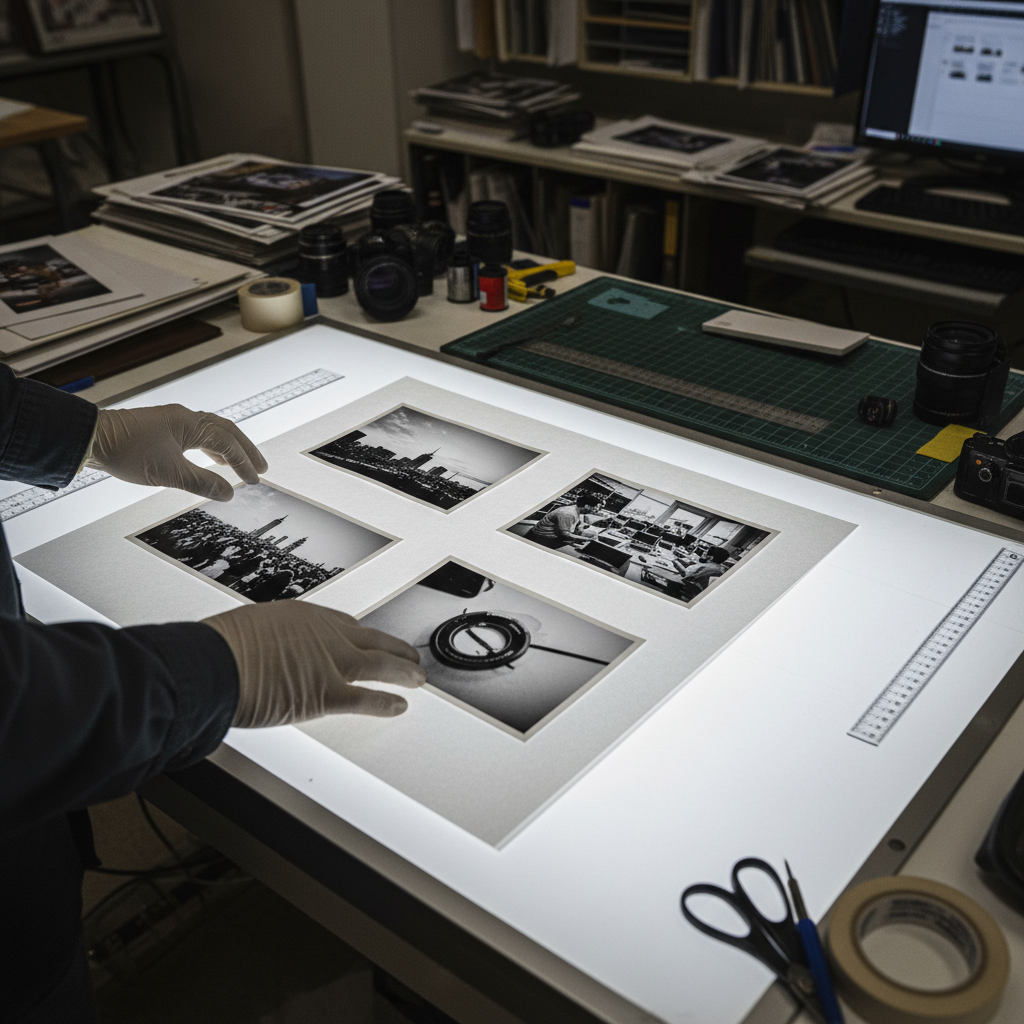
Create a 4×6 print document with guides
Create a separate Photoshop document at the resolution and dimensions necessary to print at 4×6 inches. Add guides to this document to help you place and align multiple 600×600 squares precisely for printing.
Copy the 600×600 square into the print sheet
Select the entire 600×600 square (the finished portrait in its square) and copy it. Paste that square into the 4×6 document and use the guides to place it correctly.
Fit three photos onto a single 4×6
Arrange copies so that three passport-sized squares fit neatly on the 4×6 sheet. The source describes that three passport-sized photos fit comfortably on a 4×6, leaving you with two for submission and one spare.
Export for printing
Export the 4×6 file at the correct print resolution and format supported by your photo-printing service. The source used Walmart and printed a 4×6 for seven cents.
Keep a spare for cutting mistakes
Print three per 4×6: give two to the passport office and keep one spare in case of a cutting error. The extra copy helps avoid reprinting if you accidentally cut a photo incorrectly.
Practical tips
- Use the official template as your only sizing and alignment reference.
- Work at 600×600 pixels in your portrait document to match the template sizing used in the source.
- Temporarily lowering opacity to around 50% while adjusting makes precise alignment far easier.
- Use guides in the 4×6 print document to maintain consistent margins and spacing between photos.
Common mistakes to avoid
- Using images with non-plain backgrounds — the example noted that clipart with a non-plain white background was unacceptable.
- Not facing the camera — ensure the subject is looking directly at the camera as shown in the template.
- Skipping guides when arranging multiple copies — this can lead to uneven or off-center images when printed and cut.
- Not keeping a spare — cutting mistakes happen; print an extra copy on the same sheet.
Quick step-by-step summary
1. Open the official passport photo template and place it into a 600×600 pixel Photoshop square.
2. Paste your portrait on a layer above the template.
3. Set portrait opacity to ~50% and use Free Transform to match size and alignment.
4. Restore opacity to 100% and verify background and gaze match the template.
5. Create a 4×6 Photoshop document with guides.
6. Copy/paste the finished 600×600 square into the 4×6 and arrange three copies.
7. Export and print (the source used Walmart for a low-cost 4×6 print).
8. Submit two photos and keep one spare for cutting errors.
Follow these steps closely and use the official template as your standard for validation to reduce errors and ensure your photos conform to the example provided in the U.S. Passport photo guidelines.