How to Fix a Photo Rejected by the Embassy
Why correcting a rejected visa photo matters
A single photograph that fails to meet U.S. visa specifications can delay your application, force a resubmission, and increase cost and stress. The requirements are strict and non‑negotiable: size, background, lighting, expression, file format and recentness all matter. Fixing the photo promptly and correctly keeps your application moving.
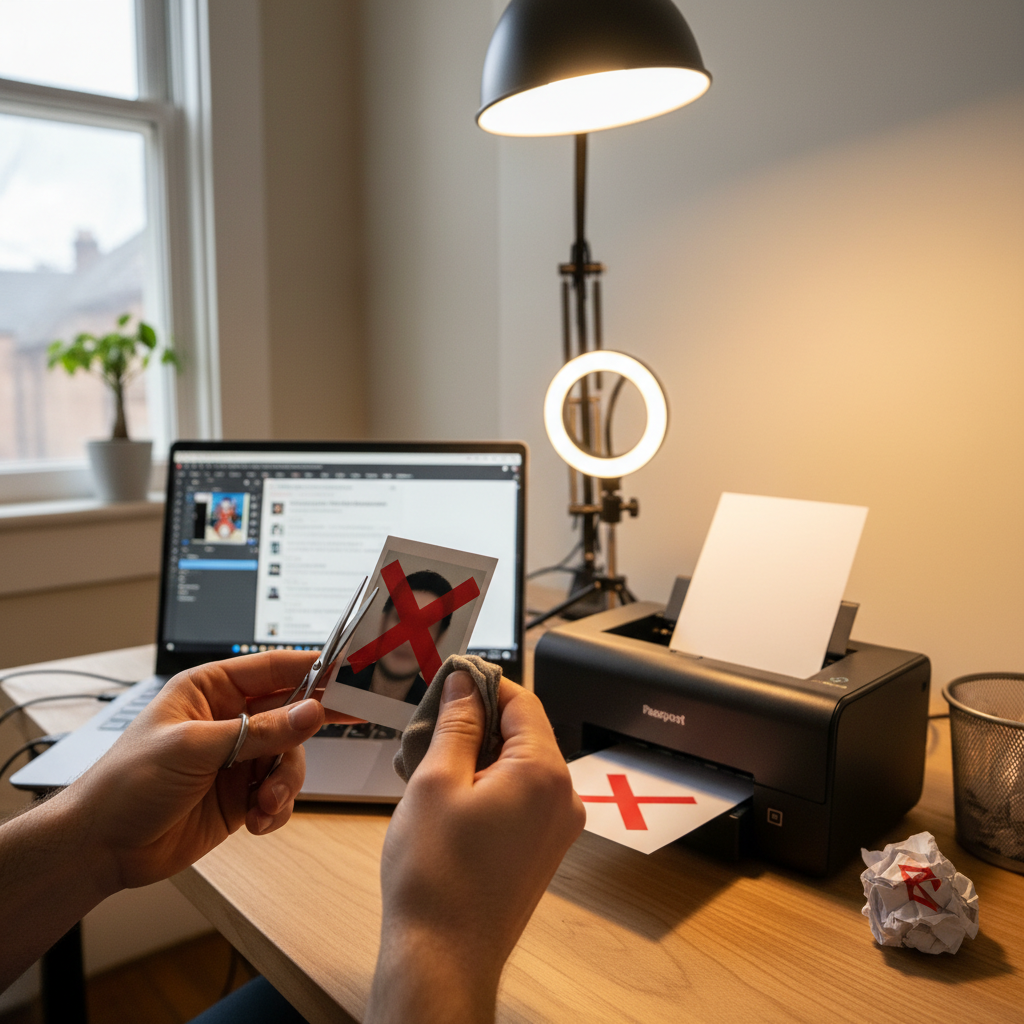
First step after rejection: identify the exact reason
Embassy or DS‑160 systems typically indicate why a photo was rejected. Common categories are technical specification failures (size, pixels, format, file size), lighting/quality problems, background or composition issues, and expression/pose violations. Use that rejection reason to focus your corrections.
Fix technical specification failures (digital)
If the problem is a digital specification: save the image as a JPEG, ensure the pixel dimensions are between 600x600 and 1200x1200 pixels, and make sure the file size does not exceed 240 KB. The image must be in color. Verify these three elements before resubmitting.
Fix technical specification failures (physical)
If a printed photograph was rejected for size or print quality, have a new physical photo printed exactly 2 x 2 inches (51 mm x 51 mm) on high‑quality photo paper with a matte or glossy finish. Do not use Polaroid photos, home‑printed images on regular paper, or low‑resolution prints.
Correct head size and positioning
Ensure your head occupies 50% to 69% of the photo height. Measure from the bottom of your chin to the top of your head: it should be between 1 inch and 1 3/8 inches (22 mm to 35 mm). Center your head and show your shoulders; both ears should be visible unless normally obscured by hair.
Fix background and lighting problems
Use a plain white or off‑white background with a completely uniform look — no shadows, patterns, textures, or objects. Lighting should be even and natural, illuminating your face without creating harsh shadows on your face or on the background. If shadows appear behind you, adjust your lighting or move the subject farther from the background.
Avoid common background mistakes
Do not use colored walls, patterned wallpaper, visible furniture, plants, or other people in the frame. Even subtle shadows can trigger rejection. If your clothing blends into the background, change to darker clothing to preserve a clear silhouette.
Correct expression and pose violations
Adopt a neutral facial expression — a natural, closed‑mouth expression or no smile is acceptable. Keep both eyes open and look directly at the camera. Face the camera head‑on with your shoulders square; do not tilt or turn your head.
Clothing, jewelry and accessory fixes
Choose clothing that contrasts with a white background: dark colors like navy, black or dark gray are safest. Avoid uniforms (unless required for your official capacity), large logos, or busy patterns. Small, simple jewelry is acceptable; remove or avoid large reflective pieces that could cause glare.
Glasses and medical accommodations
If you normally wear glasses but the photo was rejected due to glare or frames obscuring the eyes, the simplest fix is to remove them for the photo unless medically necessary. If glasses cannot be removed, ensure frames do not cover the eyes and there is no lens glare. Be prepared to provide medical documentation if you submit a photo with glasses for medical reasons.
Religious head coverings — how to comply
Religious head coverings are permitted only when they do not obscure facial features from the bottom of the chin to the top of the forehead and from ear to ear, and they do not cast shadows on the face. If your photo was rejected for a head covering, retake it ensuring full facial visibility and even lighting, and be ready to provide documentation from a religious leader if requested.
Re‑print rules after corrections
When resubmitting a physical photo, ensure the new print is on proper photo paper (matte or glossy) and precisely 2 x 2 inches. Avoid Polaroids and home prints on regular paper. Confirm the image is sharp, well‑focused and printed at high resolution.
Reformatting digital files correctly
Before uploading, confirm the photo file is JPEG, in color, within 600x600 to 1200x1200 pixel dimensions, and under 240KB. If necessary, crop the image to proper head size and reposition so the head measures within the required chin‑to‑crown distance. Resave as JPEG and check file size again.
Professional vs. DIY retakes
If you keep encountering rejections, consider a professional photographer experienced with U.S. visa photos: they typically have proper lighting setups, backgrounds and a guarantee of compliance. DIY is possible, but it requires careful attention to all technical details described above.
Final pre‑submission checklist (actionable)
Before you submit a replacement photo: confirm it was taken within the last six months; check physical size or pixel dimensions; confirm file format (JPEG) and file size (<240KB) for digital; verify head size and centering; ensure eyes are open and looking at the camera; confirm plain white/off‑white uniform background with no shadows; ensure clothing contrasts with background; remove glasses unless medically necessary and ensure no glare.
Step‑by‑step retake plan
1. Read the rejection reason carefully. 2. Set up a plain white or off‑white background. 3. Use even lighting (two light sources or diffused natural light). 4. Wear dark, non‑reflective clothing. 5. Position camera at eye level, take shoulders‑up frame, center head. 6. Maintain a neutral expression, eyes open, head straight. 7. For digital: crop and resize to 600–1200 px square, save as JPEG under 240KB. 8. For prints: print 2 x 2 inches on high‑quality photo paper.
What to do if you get another rejection
If a corrected photo is still rejected, review the rejection reason again and compare it against the checklist above. If rejections persist despite following the standards, consider using a professional service that guarantees compliance.
Practical quick tips
- Always check the photo was taken in the last six months.
- Never submit home-printed photos on regular paper or Polaroids.
- Aim for a neutral, relaxed facial expression and direct eye contact.
- If you need an accommodation (religious or medical), prepare supporting documentation.
Keep documentation ready
If you submit a photo that involves a religious or medical accommodation (head covering, glasses), have supporting documentation available — a letter from a religious leader or medical professional — in case the consulate requests it.
Summary
A rejected photo almost always reflects one or more non‑compliant details: size, format, background, lighting, head positioning, or expression. Identify the specific cause from the rejection, address that area using the technical specifications and practical tips above, and validate the final image against the official standards before resubmitting to avoid further delays.