Photos for Driver's License
Overview: Why the photo matters
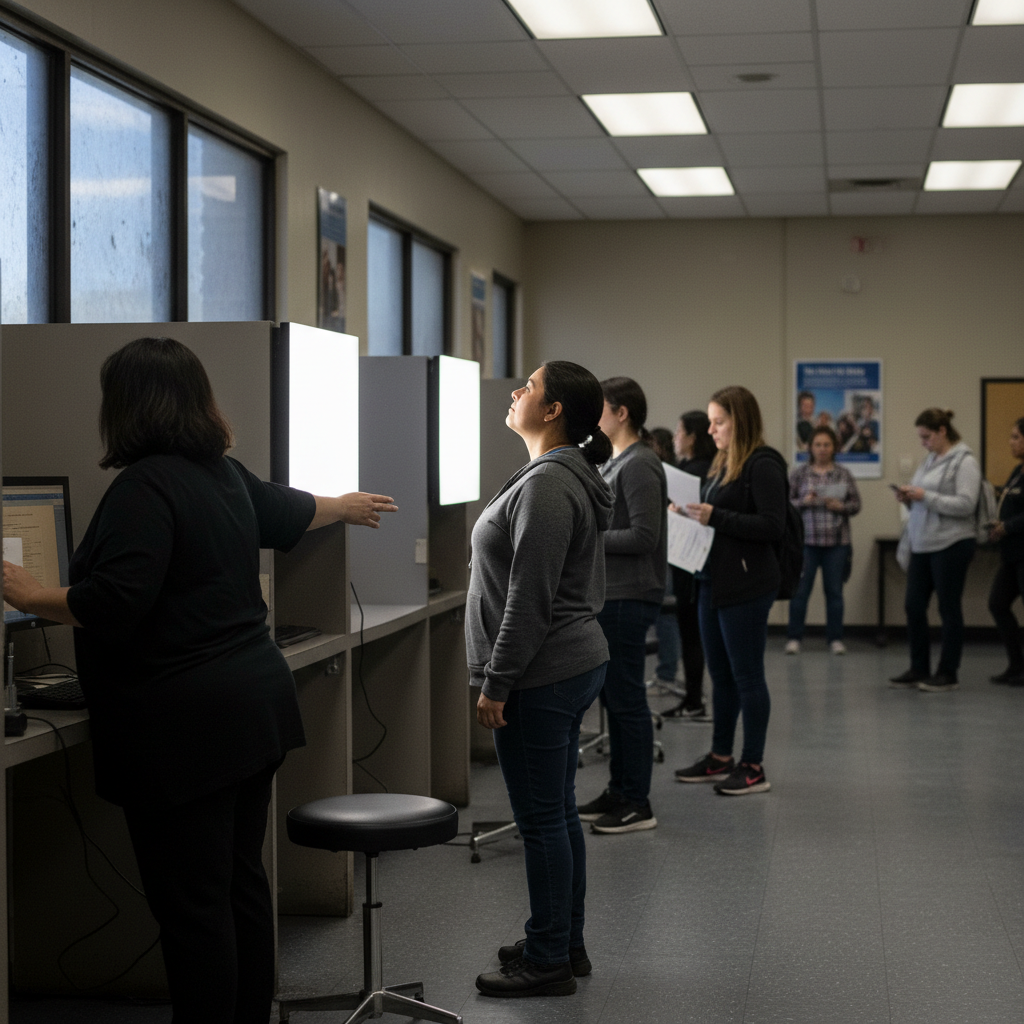
Obtaining a U.S. driver's license requires more than passing tests — the photo is a critical part of identity verification and can determine whether your application is accepted. Photo requirements are enforced by state DMVs, and meeting them precisely helps avoid rejections, delays, or multiple trips.
Federal vs. state requirements
State DMVs manage the licensing process, but federal legislation such as the REAL ID Act sets minimum security standards that states may adopt if they want that license to be accepted for federal purposes (boarding domestic flights, entering federal buildings). This creates a baseline of expectations, but many photo details (background color, size, minor dress rules) remain state-specific.
How federal and state rules interact
Because states implement their own rules within or beyond federal minima, some elements are consistent (for example, no hats or sunglasses in most cases) while others vary (background color or exact dimensions). Always check both the federal REAL ID guidance and your state's DMV page before preparing your photo.
State examples (illustrative)
The guide highlights several state approaches to illustrate variation:
- California: full-face view, plain white or off-white background, restrictions on accessories and head coverings.
- New York: digital photo taken at the DMV; glasses generally not allowed unless medically necessary.
- Texas: clear, recent photo with plain white or off-white background; rules for religious head coverings.
- Florida: full frontal view with a plain background and instructions about facial expressions and obstructions.
These are examples — consult your state DMV for up-to-date, specific rules.
Dimensions and digital size
Many states follow similar size expectations but exact specs can differ:
- Typical physical size: generally 2 x 2 inches (51 x 51 mm).
- Digital uploads: commonly require pixel dimensions often ranging from 600x600 to 1200x1200 pixels.
- Head size: the head should occupy a specific portion of the photo (usually between 1 inch and 1 3/8 inches).
Actionable step: verify both physical and digital dimension requirements on your state DMV site before submitting.
Dress code and appearance: what to wear
Driver's license photo dress is more relaxed than passport photos, but certain rules apply:
- Wear normal, everyday clothing (avoid revealing, offensive, or uniform-like attire).
- Keep jewelry minimal; remove anything large or reflective that casts shadows.
Actionable tip: dress in non-distracting, solid colors that contrast with the required background.
Glasses, head coverings and religious accommodations
- Glasses: many states prefer no glasses; some require a doctor's note if glasses must be worn. Frame styles should not obstruct facial features.
- Religious head coverings: generally allowed only if they do not obscure the face — full facial visibility from forehead to chin and both edges of the face is required. Solid colors that do not cast shadows are recommended.
Actionable step: if you must wear a head covering or glasses for religious or medical reasons, bring documentation (e.g., a doctor's note) and confirm state policy in advance.
Makeup and facial expression
- Makeup: permitted but avoid heavy or unnatural makeup that significantly changes your appearance. The goal is to reflect your typical daily look.
- Expression: most states require a neutral expression with mouth closed; broad smiles are usually discouraged though some states may permit a small, natural smile.
Actionable tip: practice a relaxed, neutral expression in advance and take multiple shots to choose the best compliant image.
Background and lighting
Photo acceptance depends heavily on a plain, evenly lit background:
- Background color: white or off-white is most common; some states permit light gray or blue. No patterns or objects.
- Lighting: even lighting to avoid shadows, glare, or uneven skin tones. Natural light is preferable but avoid direct sunlight.
Practical tip: use a white wall or a smooth white sheet; remove wrinkles and use a reflector or diffused light source to minimize shadows.
Restrictions and common prohibitions
Common prohibitions include:
- Hats and sunglasses (except for documented religious/medical reasons).
- Anything obstructing facial features (hair, accessories, shadows).
- Distracting backgrounds or patterns.
Actionable step: check your silhouette in the camera frame to ensure hair, forehead, and face edges are fully visible.
Common mistakes and how to avoid them
Frequent reasons for rejection and how to prevent them:
- Poor lighting (shadows or glare) — use soft, even lighting.
- Incorrect background — use a plain, seamless backdrop in the required color.
- Non-neutral expression — hold a natural, closed-mouth expression.
- Obstructed face — remove hats, tuck hair away from the face, avoid large frames.
- Incorrect size/dimensions — verify pixel and physical sizes before printing or uploading.
Practical tip: run a pre-check list (lighting, background, expression, dimensions) before finalizing the photo.
DIY photo guide: take a compliant photo at home
Step-by-step actions:
1. Use a high-resolution smartphone or digital camera (the guide suggests aiming for at least 12 megapixels).
2. Find a bright, evenly lit area near a window, avoiding direct sunlight.
3. Position a plain white or off-white wall/sheet as backdrop; smooth any wrinkles.
4. Sit or stand facing the camera, head and shoulders visible, with good posture.
5. Keep a neutral expression and look directly at the camera.
6. Take multiple shots and review them for shadows, background imperfections, and head size.
Actionable tip: include a friend to help check framing, or use a tripod and timer for precise positioning.
AI-powered solutions to streamline compliance
AI Passport Photo tools (as described) can assist with:
- Automatic background removal to the correct color and uniformity.
- Cropping and resizing for specific state dimension requirements.
- Compliance checks (head size, facial visibility, expression neutrality) to reduce rejection risk.
Actionable step: if using an AI tool, cross-check the tool's output against your state's official specs before submission.
Printing and submission
How to submit once the photo is compliant:
- Online upload: follow state-specific file format and size limits when uploading a digital image.
- In-person submission: if a printed photo is required, print on high-quality photo paper (matte or glossy) at the correct physical dimensions (typically 2x2 inches).
Practical tip: retailers like Walgreens and Walmart offer affordable printing options — but verify that the printed image matches the digital file and dimensions required.
REAL ID compliance and federal acceptance
If you plan to use your driver's license for federal purposes (domestic flights, federal buildings), ensure your photo and other documents meet REAL ID standards. Actionable step: visit the DHS REAL ID website and your state DMV to confirm whether your photo and application need to meet REAL ID rules.
If your photo is rejected: troubleshooting and next steps
If rejected, follow these steps:
1. Review the rejection reason provided by the DMV.
2. Re-check your state's photo requirements, focusing on the stated issue (background color, dimensions, expression).
3. Retake the photo addressing the specific problem (improve lighting, change background, adjust head size).
4. Seek professional help or visit the DMV for guidance if unsure.
5. Use an AI compliance tool to pre-check the revised photo before re-submission.
Actionable tip: contact the DMV if the rejection reason is unclear — they can clarify exact fixes required.
Final checklist before submission
- Confirm background color (white/off-white or state-specified).
- Verify head size and overall dimensions (physical 2x2 or state digital pixel requirements).
- Ensure no hats/sunglasses (unless documented) and face unobstructed.
- Use neutral expression and natural makeup only.
- Check lighting for even skin tones and no shadows.
- Print on high-quality photo paper or save digital file in required format and dimensions.
Actionable step: keep the DMV website open and compare each item on this checklist to your photo immediately before submission.
Closing reminder
Photo rules can vary and change — always consult your state's DMV website for the most current, authoritative requirements. Careful preparation, attention to lighting/background/dimensions, and use of compliance tools can help ensure your driver's license photo is accepted the first time. Good luck!